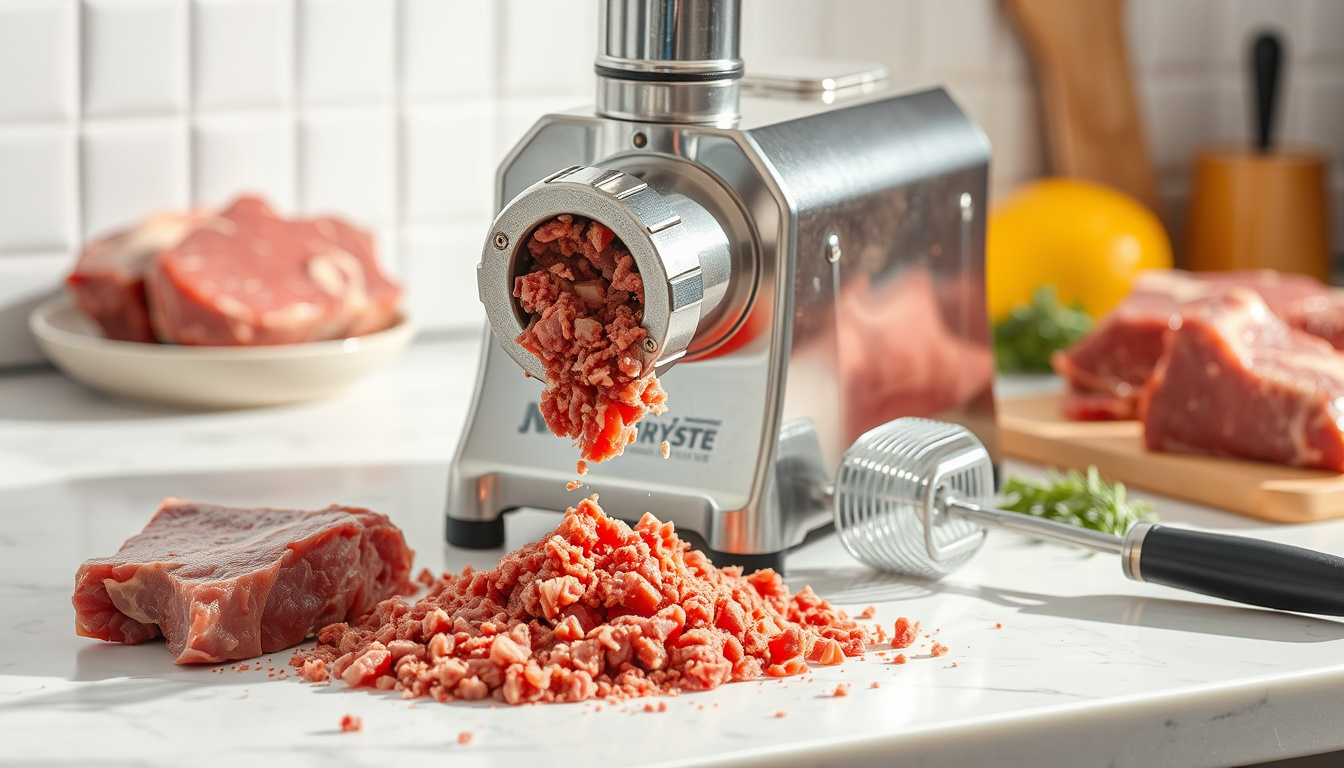

Anyone who’s tried making their own burger patties from store-bought mince knows the texture never quite matches that of a steakhouse grind, but using a meat grinder at home changes the game — you control the cut, the fat ratio, and the freshness. This guide walks through the exact steps, from chilling your ingredients to cleaning up, so you get restaurant-quality results without the guesswork.
Home meat grinder market growth (2023–2030): 4.8% CAGR ·
Ground beef consumption in the U.S. (2024): 27.4 lbs per capita ·
Recommended meat temperature before grinding: 30–34°F (-1 to 1°C) ·
Average KitchenAid meat grinder attachment weight: 3.5 lbs ·
Number of grinding plate sizes in standard sets: 3 (4.5mm, 8mm, 10mm)
Quick snapshot
- Chilling meat and grinder parts improves texture (KitchenAid US Official)
- Food-grade silicone spray is safe for lubricating blades (Weston Brands tip sheet)
- Chuck is recommended for beef grinding (The Mountain Kitchen)
- Optimal number of passes for different meats (KitchenAid US Official notes some meats can be ground twice, but no universal rule)
- Long-term effect of mineral oil on plastic parts (Weston Brands recommends silicone over mineral oil for plastic components)
- No specific timeline events; recommended operational steps are immediate (KitchenAid US Official)
- Most home users complete grinding within 10–15 minutes per batch (The Mountain Kitchen)
- After grinding, shape or cook immediately, or refrigerate below 40°F (KitchenAid US Official)
- Plan for cleaning within 5 minutes to prevent residue hardening (Serious Eats how-to article)
Key specifications for meat grinding at a glance:
| Fact | Value |
|---|---|
| Ideal meat temperature | 30–34°F (-1 to 1°C) |
| Fat content for burgers | 80/20 lean-to-fat ratio |
| Top beef cut for grinding | Chuck |
| KitchenAid attachment speed | 4 (low speed) |
| Lubricant type | Food-grade silicone spray |
| KitchenAid attachment price (approx.) | $50 |
| First pass plate type | Coarse (8mm or 10mm) |
How to properly use a meat grinder?
-
Prepare the meat and equipment
- Chill the meat and all grinder parts (blade, plate, auger) to 30–34°F (KitchenAid US Official)
- Cut meat into 1-inch cubes, trimming any connective tissue or silverskin (The Mountain Kitchen)
- Use low to medium speed for attachment models (KitchenAid setting 4) (KitchenAid US Official)
-
Assemble the grinder correctly
- Insert the auger and blade – the blade cuts food before pushing it through the plate (KitchenAid US Official)
- Secure the housing and attach the hopper (KitchenAid US Official)
- For stand mixer attachments, tighten the hub knob clockwise (KitchenAid US Official)
-
Feed and grind at the right speed
- Work in small batches to avoid overloading and clogging (KitchenAid US Official)
- Feed cubes gently – let the auger pull, don’t force (KitchenAid US Official)
- Pause occasionally to clear meat from the plate (The Mountain Kitchen)
Home cooks who skip chilling end up with smeared, warm grind that loses structure. Keeping the equipment at 30–34°F replicates the cold-room conditions of professional butchers.
The implication: prep temperature is the single most controllable variable separating a light, fluffy grind from a pasty one.
How do I grind meat for beginners?
Choose the right meat cut
- Chuck (80/20) is the most forgiving cut for first-timers (The Mountain Kitchen)
- Trim visible sinew and connective tissue – silverskin will wrap around the blade (The Mountain Kitchen)
- Include 15–20% fat for juicy results (KitchenAid US Official)
Set up the grinder for first use
- Wash all parts in hot soapy water before first use (KitchenAid US Official)
- Apply a light coat of food-grade silicone spray to the blade and auger (Weston Brands tip sheet)
- Do a dry run with a piece of bread to clear any manufacturing residue (The Mountain Kitchen)
Avoid common beginner errors
- Keep meat cold throughout – if it warms above 40°F, stop and rechill (KitchenAid US Official)
- Use the coarse plate for the first pass; switch to fine only if needed (The Mountain Kitchen)
- Don’t grind more than 2–3 pounds at a time without a break for the motor (KitchenAid US Official)
What this means: beginners often rush and skip the chilling step, turning a rewarding process into a frustrating cleanup exercise.
Do I need to oil my meat grinder before use?
Types of lubricants: food-grade silicone vs. mineral oil
- Food-grade silicone spray is non-toxic, odorless, and doesn’t go rancid (Weston Brands tip sheet)
- Mineral oil is also safe but can degrade some plastic parts over time (Weston Brands tip sheet)
- Never use WD-40 or cooking oils like olive or canola – they turn sticky and rancid (KitchenAid US Official)
Application method
- Spray a thin coat onto the blade and auger before each use (Weston Brands tip sheet)
- Wipe off excess with a paper towel – a film is enough (Weston Brands tip sheet)
- For manual grinders, apply to the handle shaft as well (The Mountain Kitchen)
Frequency of oiling
- Relubricate every time you regrind or after cleaning (Weston Brands tip sheet)
- If the grinder starts making noise or metal-on-metal sounds, stop and oil immediately (KitchenAid US Official)
A dry blade grabs and tears meat instead of cleanly cutting it, which causes the fat to smear and the motor to strain. A tiny investment in food-grade silicone spray ($6–8 a can) extends blade life by years.
The trade-off: silicone spray is safer but needs reapplication for each batch; mineral oil lasts longer but risks plastic compatibility.
What cuts of meat are best for grinding?
Beef: chuck, sirloin, brisket
- Chuck (80/20) is the most popular for burgers – good fat distribution (The Mountain Kitchen)
- Sirloin (90/10) works but produces drier patties – add fat (KitchenAid US Official)
- Brisket yields rich flavor but requires extra trimming of silverskin (The Mountain Kitchen)
Pork: shoulder, loin
- Shoulder (Boston butt) has excellent fat content for sausage (KitchenAid US Official)
- Pork loin is too lean – add 20% pork fat (KitchenAid US Official)
Poultry: thigh, breast
- Chicken thighs (skinless) produce moist ground meat (KitchenAid US Official)
- Breast meat alone becomes powdery – mix 30% thigh (KitchenAid US Official)
One observation: home grinders often reach for sirloin because it’s lean and tidy, but the better burger always comes from a cut that stays near 20% fat.
How to clean and maintain your meat grinder?
Disassembly and hand washing
- Disassemble immediately after use – meat residue hardens fast (Serious Eats how-to article)
- Hand wash all parts in hot, soapy water; avoid dishwasher for blades (KitchenAid US Official)
- Use a small brush to clean plate holes (The Mountain Kitchen)
Drying and storage
- Dry all parts thoroughly – any moisture causes rust on carbon steel blades (KitchenAid US Official)
- Store in a dry place, preferably in a sealed bag or container (KitchenAid US Official)
- Silicone parts can be sanitized with vinegar (Serious Eats)
Sharpening blades and replacing parts
- Sharpen the blade every 20–30 uses with a fine stone (Weston Brands tip sheet)
- Replace the plate when it shows wear or uneven holes (KitchenAid US Official)
The catch: a dull blade smears fat instead of cutting, which is why many home grinds turn grey and pasty. Quick sharpening restores clean cuts.
What are common mistakes when grinding meat?
Overheating the meat
- Meat must stay below 40°F to prevent bacterial growth and maintain texture (KitchenAid US Official)
- Warm meat smears fat through the plate, resulting in a glue-like grind (The Mountain Kitchen)
Using dull blades
- Dull blades crush rather than slice, heating the meat and clogging the plate (Weston Brands tip sheet)
- Check blade sharpness by running it over your fingernail – if it skids, resharpen (Weston Brands tip sheet)
Skipping the chilling step
- Even a 10°F rise above 34°F degrades the texture noticeably (KitchenAid US Official)
- Chill the grinder parts in the freezer for 15 minutes before starting (KitchenAid US Official)
The most common error pattern online: warm meat + dry blade + rushed feeding = a motor clog and a pile of smeared, discolored grind. All three fixes are free and take seconds.
Why this matters: these mistakes aren’t just about texture – they create food-safety risk when the meat spends too long in the danger zone (40–140°F).
Confirmed facts and what’s unclear
Confirmed facts
- Chilling meat and grinder parts improves texture (KitchenAid US Official)
- Food-grade silicone spray is safe for lubricating blades (Weston Brands tip sheet)
- Chuck is recommended for beef grinding (The Mountain Kitchen)
What’s unclear
- Optimal number of passes for different meats (KitchenAid US Official notes some meats can be ground twice, but no universal rule)
- Long-term effect of mineral oil on plastic parts (Weston Brands recommends silicone over mineral oil for plastic components)
“Chilling the meat and grinder parts to 30–34°F is essential for clean cuts – warm meat smears and clogs the plate.”
“We recommend food-grade silicone spray for lubrication; it’s odorless and won’t go rancid like cooking oils.”
“Hand-wash immediately after use and dry completely – moisture is the fastest route to rusted blades.”
For home cooks in the U.S. who want to move beyond pale, mushy store-bought mince, the choice is clear: invest five minutes in chilling and assembly, use a sharp blade with proper lubricant, and keep everything below 40°F. The result is a grind that tastes like your butcher’s best – without the premium price tag.
themountainkitchen.com, youtube.com, youtube.com, sausagemaker.com, westonbrands.com
Frequently asked questions
Can I grind bones with a meat grinder?
Most home grinders cannot handle bones – they will damage the blade and motor. Bone-in grinds require a commercial model with a dedicated bone crusher (KitchenAid US Official).
How long does ground meat last in the refrigerator?
Store fresh-ground meat in the refrigerator at 32–40°F and use within 1–2 days (USDA Food Safety). For longer storage, freeze in airtight portions for up to 4 months.
What is the difference between a meat grinder and a food processor?
A food processor uses a spinning blade to chop, which can heat and smear the meat. A meat grinder uses an auger and plate to cut cleanly, preserving texture (The Mountain Kitchen).
Can I grind vegetables in a meat grinder?
Yes, many meat grinders can handle firm vegetables like onions, carrots, and bell peppers. Use the coarse plate and lubricate the parts first (KitchenAid US Official).
How do I know when to replace the blade?
If the blade no longer cuts cleanly – test by running it over a piece of paper; it should slice, not tear – replace it. Dull blades also cause the motor to labor (Weston Brands tip sheet).
Is it safe to grind pork and beef in the same machine?
Yes, as long as you clean thoroughly between uses. Wash all parts with hot soapy water and sanitize with a mild bleach solution if needed (KitchenAid US Official).
What size grinding plate should I use for sausage?
For coarse sausage, use an 8mm or 10mm plate. For fine textures, pass through a 4.5mm plate (KitchenAid US Official).
Can I use a meat grinder to make pate?
Yes, use a fine plate after chilling the ingredients. Pate often benefits from a second pass through the finest plate (The Mountain Kitchen).

Priya Tran leads fact-checking, source verification and corrections at Reef Brief.